Road Bike Wheelsets Classified by Rim Depth
Road Bike Wheelsets Classified by Rim Depth
Thanks to advancements in carbon fiber materials, the classification of road bike wheelset rim depths has significantly evolved in recent years. Below, we’ll break down the modern categories of road wheelsets based on rim depth.
Below 30mm
Wheelsets with rim depths below 30mm are typically aluminum alloy, often found in mid-to-low-end models. Due to the heavier weight of aluminum alloy rims, most wheelsets in this category keep rim heights under 30mm to manage overall weight. Aluminum wheelsets exceeding 30mm are often dubbed “leg-training beasts” due to their weight.
Currently, high-end carbon fiber wheelsets below 30mm, often called “wall-climbing wheels,” are rare and mostly produced by second-tier brands or custom builders. Unless the goal is extreme lightweight design or tackling super steep slopes above 15%, few riders opt for such ultra-low rim wheelsets. The cost is similar to higher rims, but the appearance can’t compete with deeper rims, leading major brands to discontinue these ultra-low carbon fiber wheelsets.
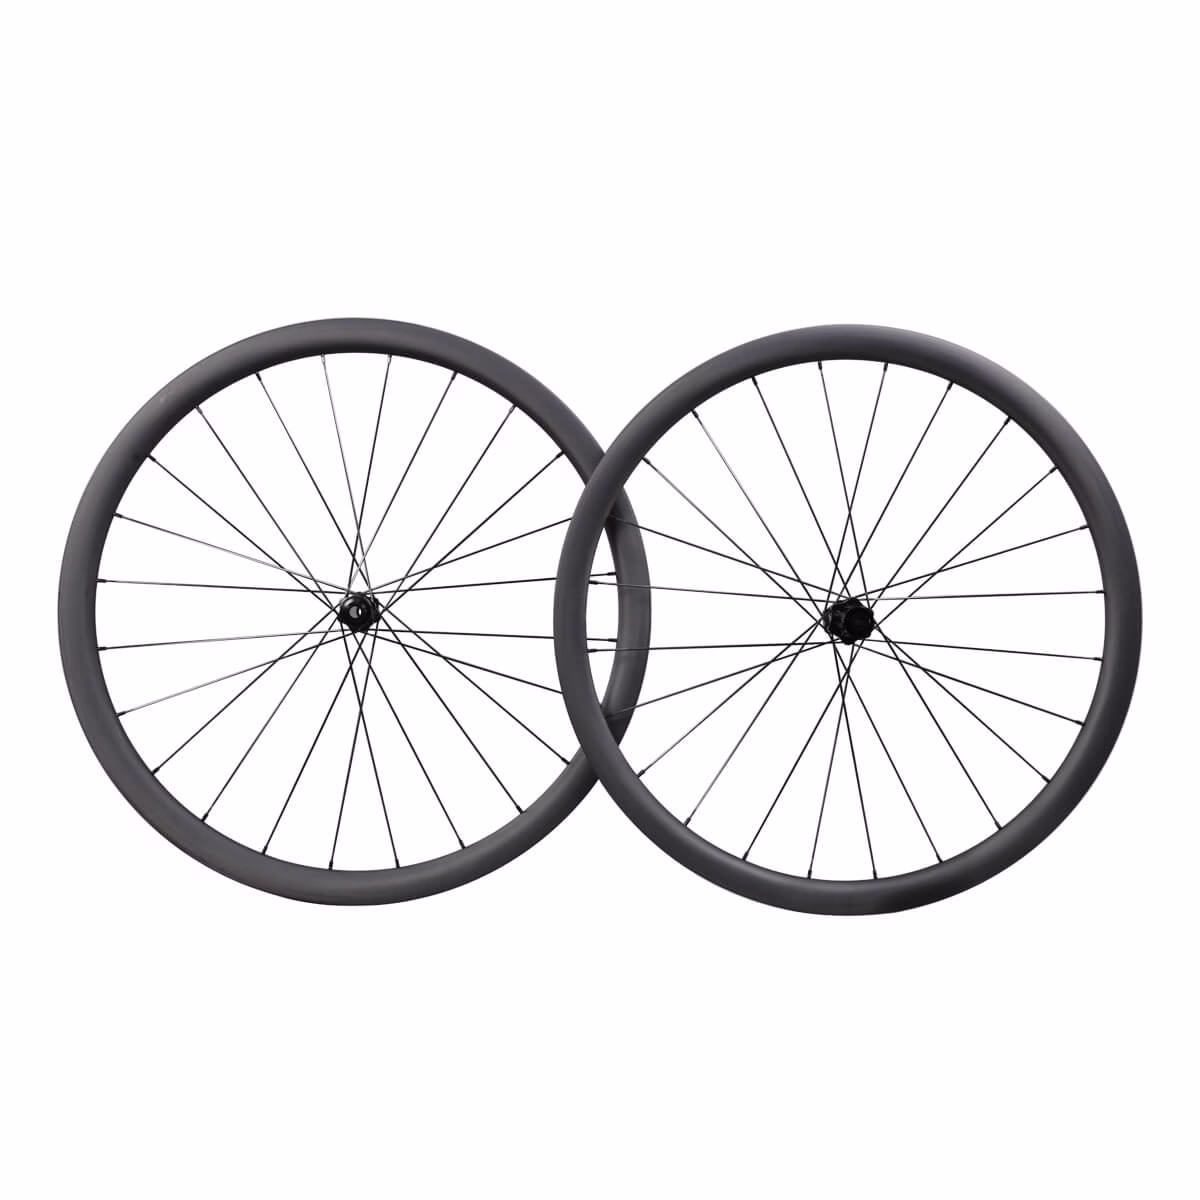
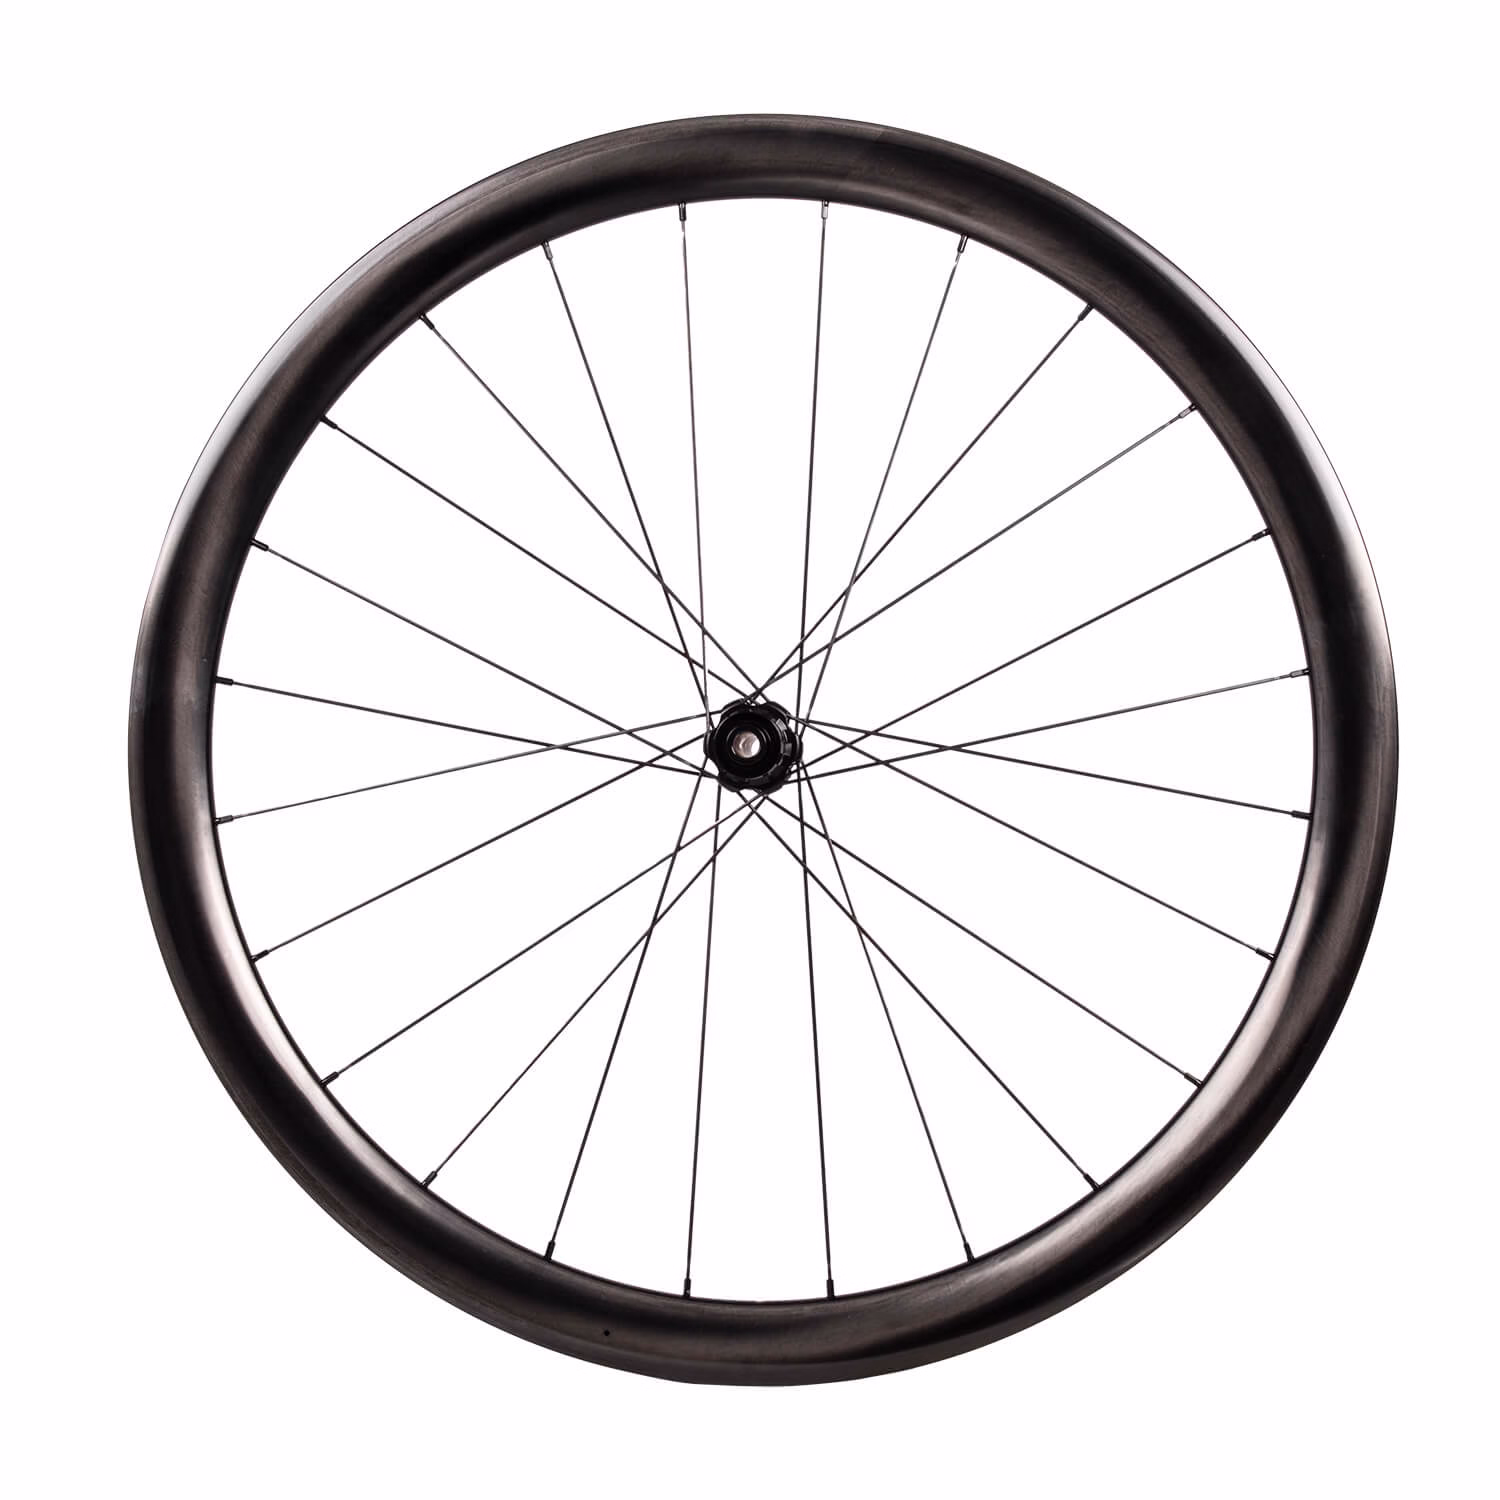
30-35mm
With advancements in carbon fiber, mid-depth rims of 30-35mm can now be made very light, making this the go-to range for climbing wheelsets from mainstream brands. In the challenging mountain stages of major races, you’ll notice riders predominantly using wheelsets in this rim depth range.
From personal experience, for steady climbing on gentle slopes, 30-35mm rim depth wheelsets feel smoother than ultra-low rim ones. Wheelsets at or below 35mm prioritize lightweight rims, enhancing acceleration and responsiveness. However, their aerodynamic performance and rotational inertia are weaker, leading to poorer performance at high speeds.

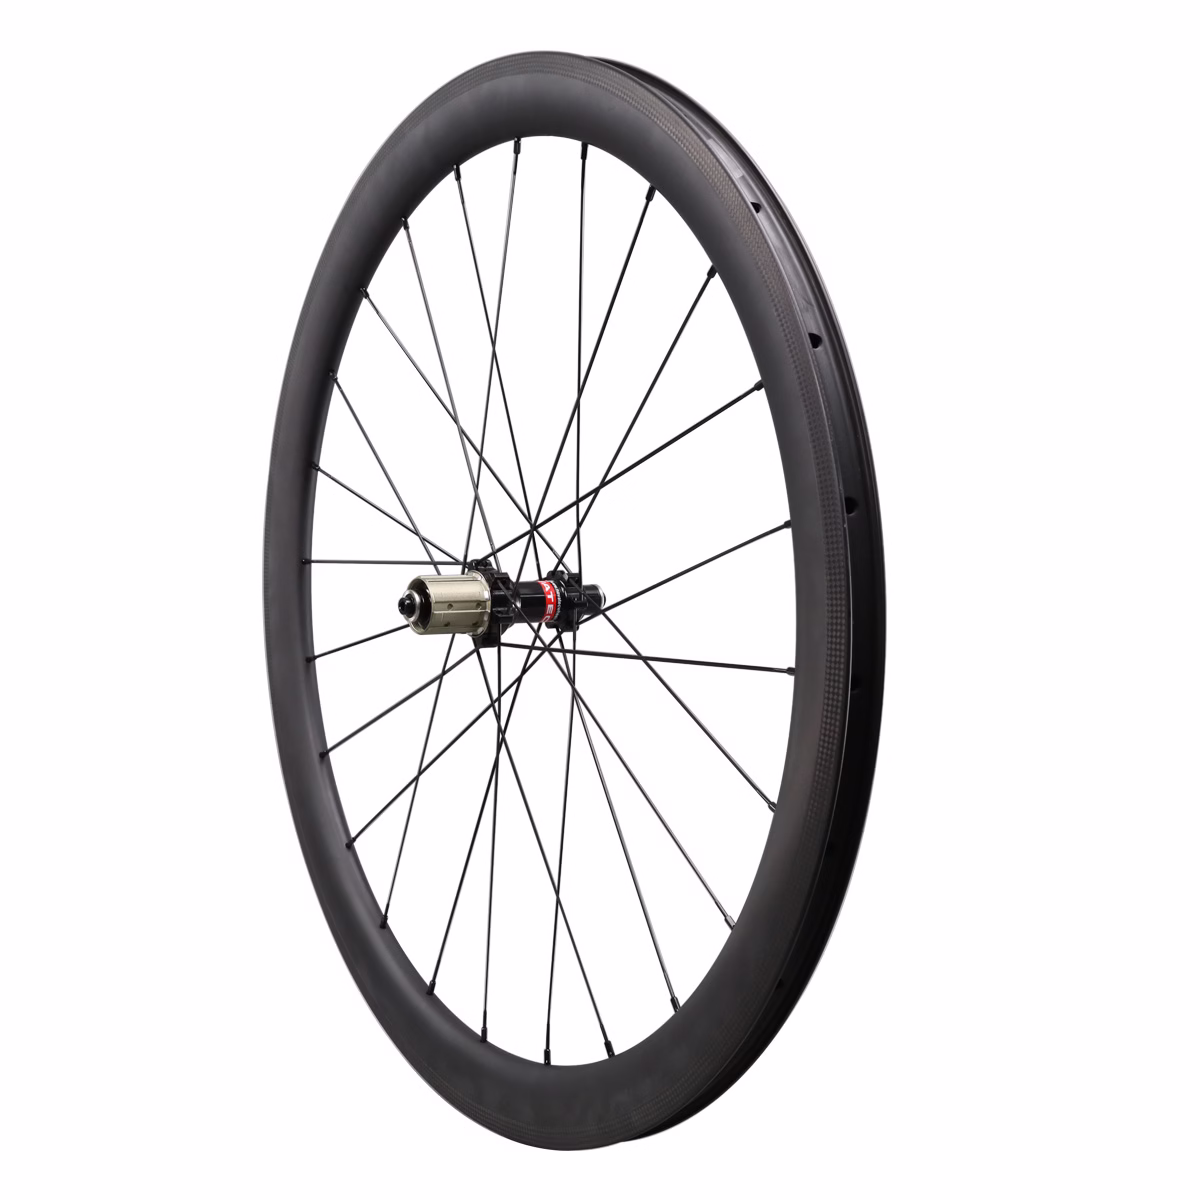
35-50mm
Yes, what was once considered a high-rim depth—50mm, widely used and praised for its all-around performance—is now classified as mid-depth, thanks again to carbon fiber advancements. Wheelsets in this range offer the best balance of performance, making them ideal for hilly terrains. Some lightweight mid-depth wheelsets can even double as climbing wheels on gentle slopes.
Within this mid-depth range, there’s a split in purpose: I believe below 42mm leans toward climbing, while above 42mm is better for flat roads. As I mostly ride on flat terrain, I prefer 45mm rim depth wheelsets—it’s a hassle to swap wheels for climbing with friends, and 45mm can handle climbing decently. However, for aesthetics, I think 38-40mm rims pair more harmoniously with racing frames.

50-65mm
High-rim wheelsets in this range are true “flat-road weapons,” primarily in the 55-60mm range, such as ICAN Disc D-X Full, Carbon Time Trial Wheelset. Since wheelsets in this range are more affected by crosswinds, some brands use a front-low, rear-high pairing to mitigate crosswind impact, like the Roval Rapide.
High-rim wheelsets excel at high-speed cruising on pure flat roads, feeling effortless if you maintain speed. However, if you can’t reach their optimal speed range, they can feel sluggish, so choosing high-rim wheelsets requires careful consideration of your abilities.
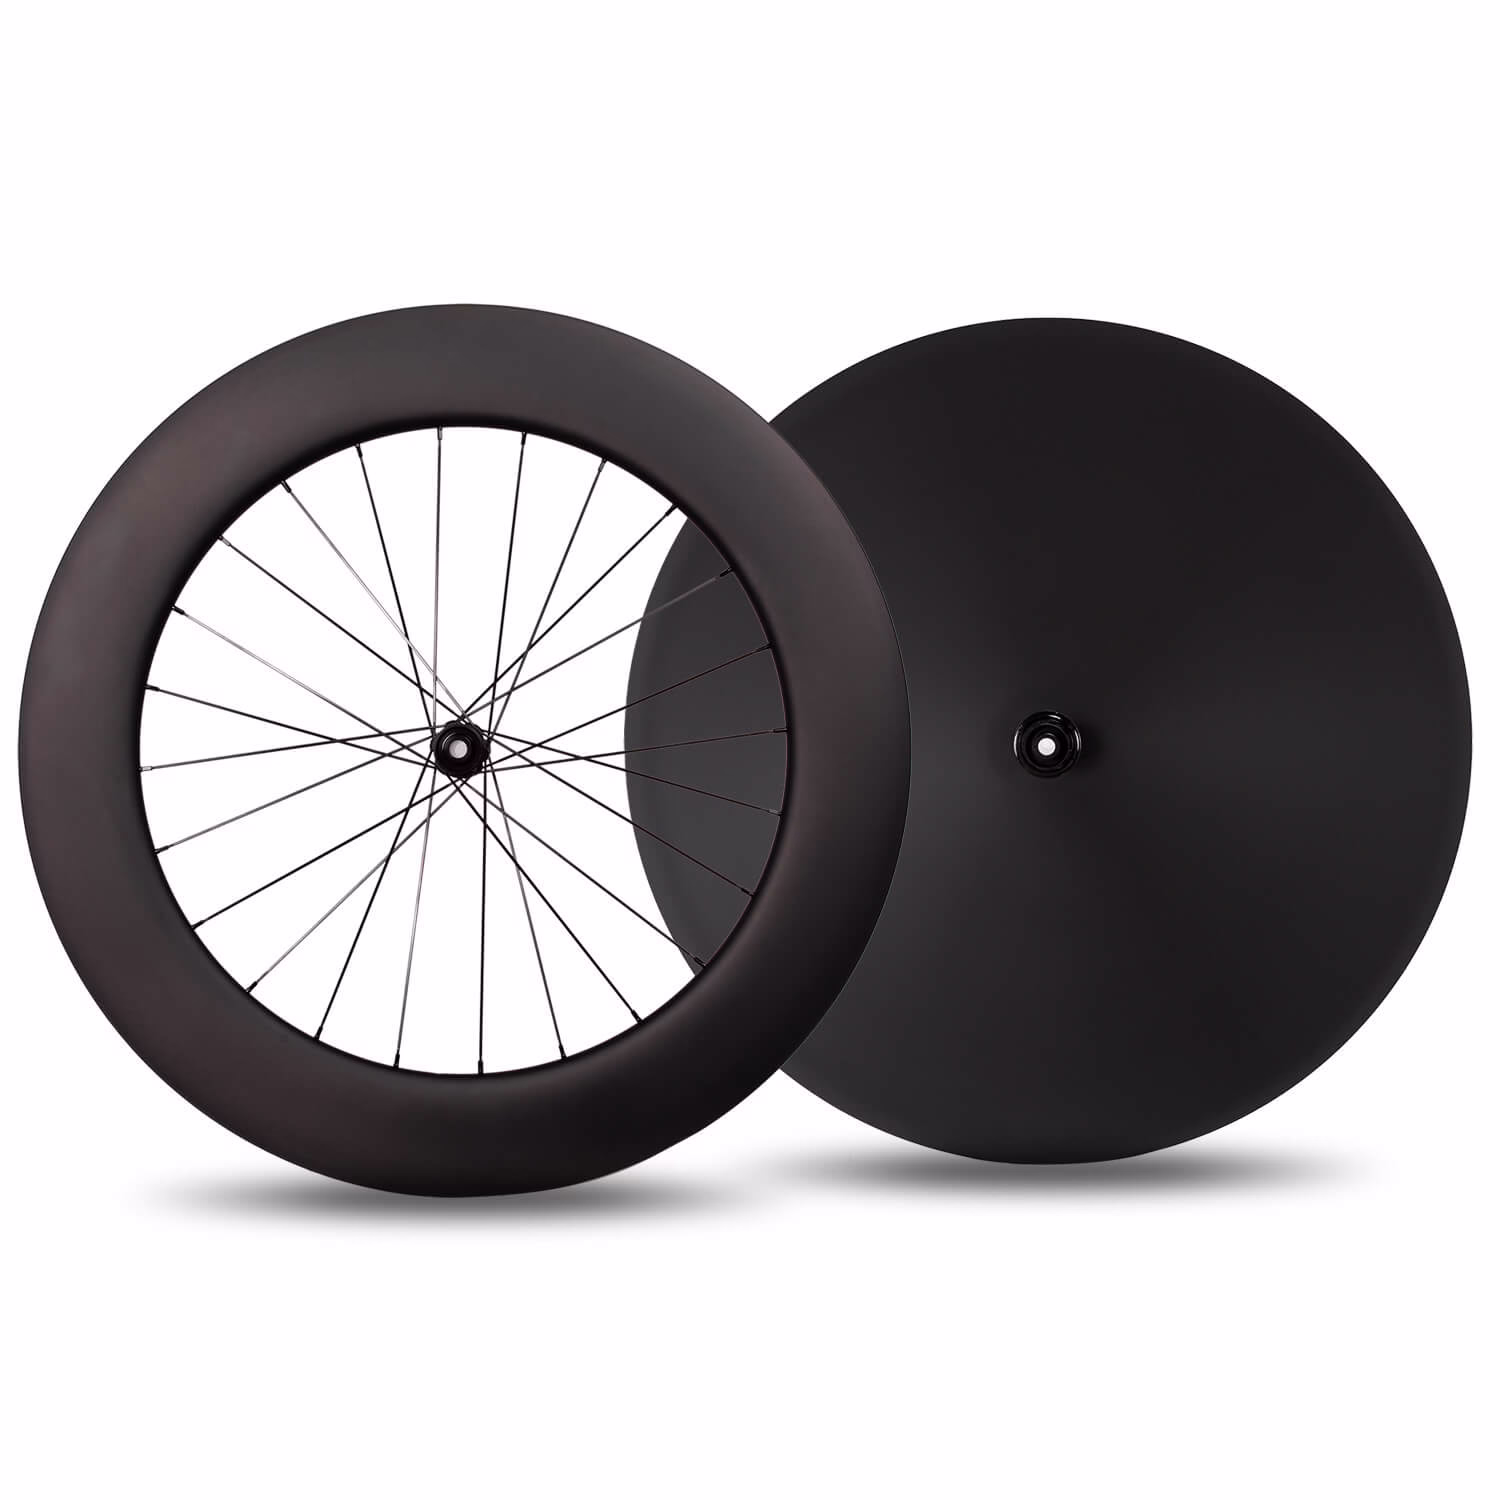
Above 65mm
Ultra-high rim wheelsets above 60mm are uncommon in road bikes, mainly used in triathlon or time trial bikes for stable high-speed cruising, such as Carbon Disc TT Wheelset-DX.
Since they prioritize aerodynamic performance, ultra-high rim wheelsets are generally heavy, with a large side profile that makes them highly susceptible to crosswinds, demanding advanced bike-handling skills.
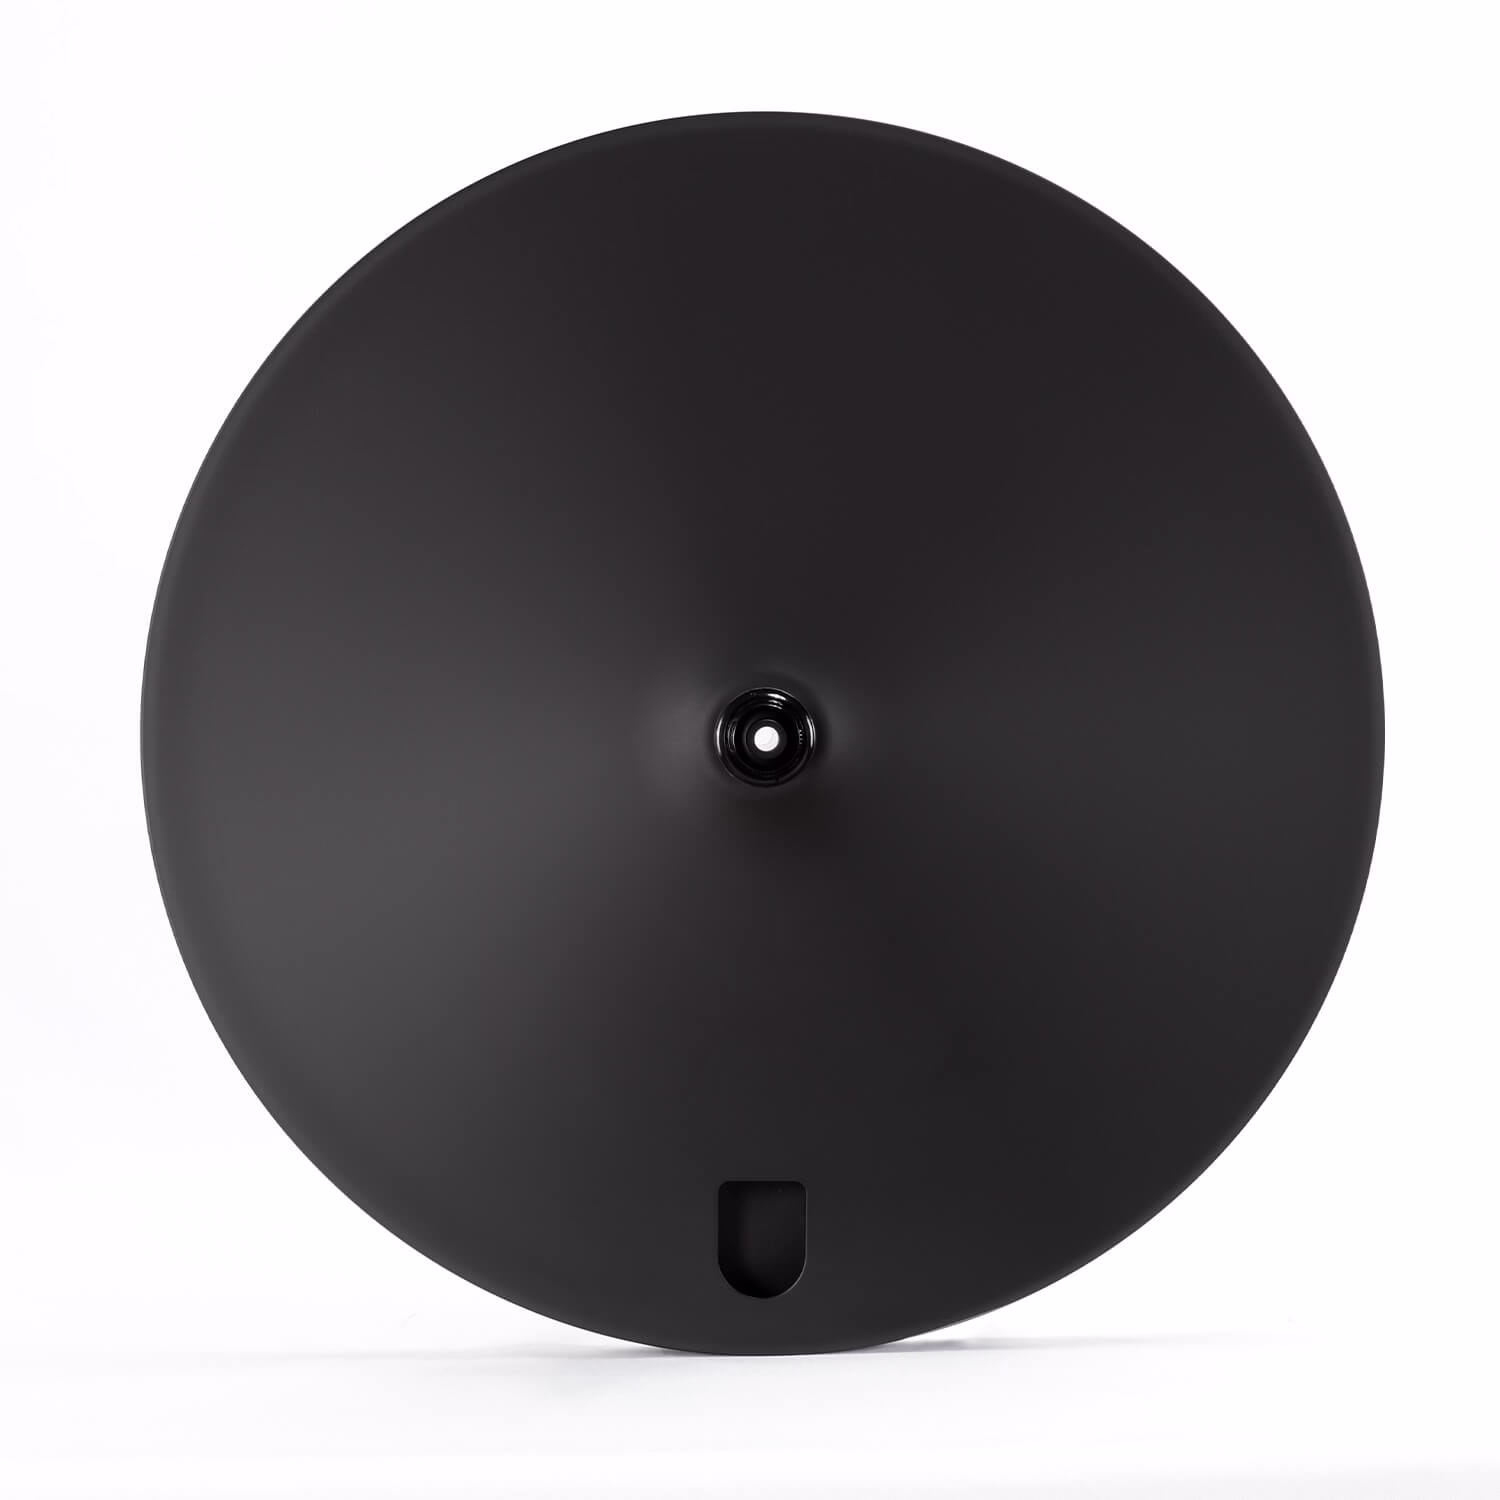
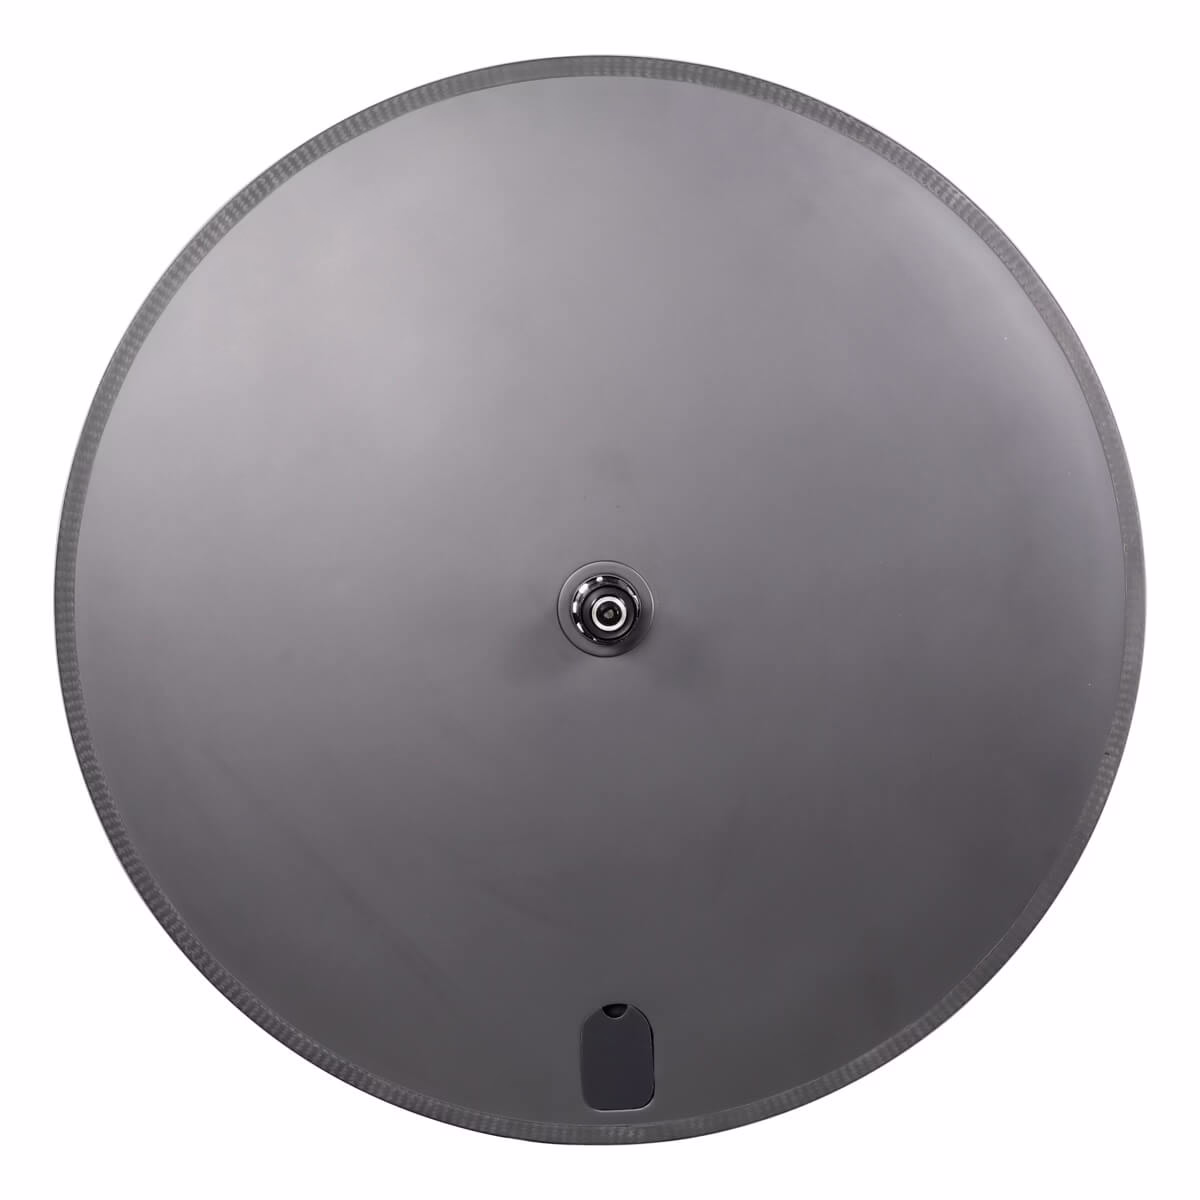
Disc Wheels and Closed Wheels
These are products designed for extreme aerodynamic performance, commonly seen in flat-road time trials. They are very heavy, require significant rider skill, and greatly impact climbing performance. In Tour de France individual time trials, most riders swap to lighter road bikes for climbing sections. Due to the danger posed by crosswinds, the KONA World Championship triathlon has banned closed wheels for rider safety.